
 West Coast Differentials has been distributing quality differential and axle parts since 1982. We believe that our exceptional customer service and product knowledge is what sets us apart from the competition. Give us a try, we think you'll be glad you did!
 The most current parts and application information can always be found here on our website or by calling one of our differential parts experts. All of the parts we sell are also used every day in our busy service shop. This gives us confidence in the quality of the parts we sell.

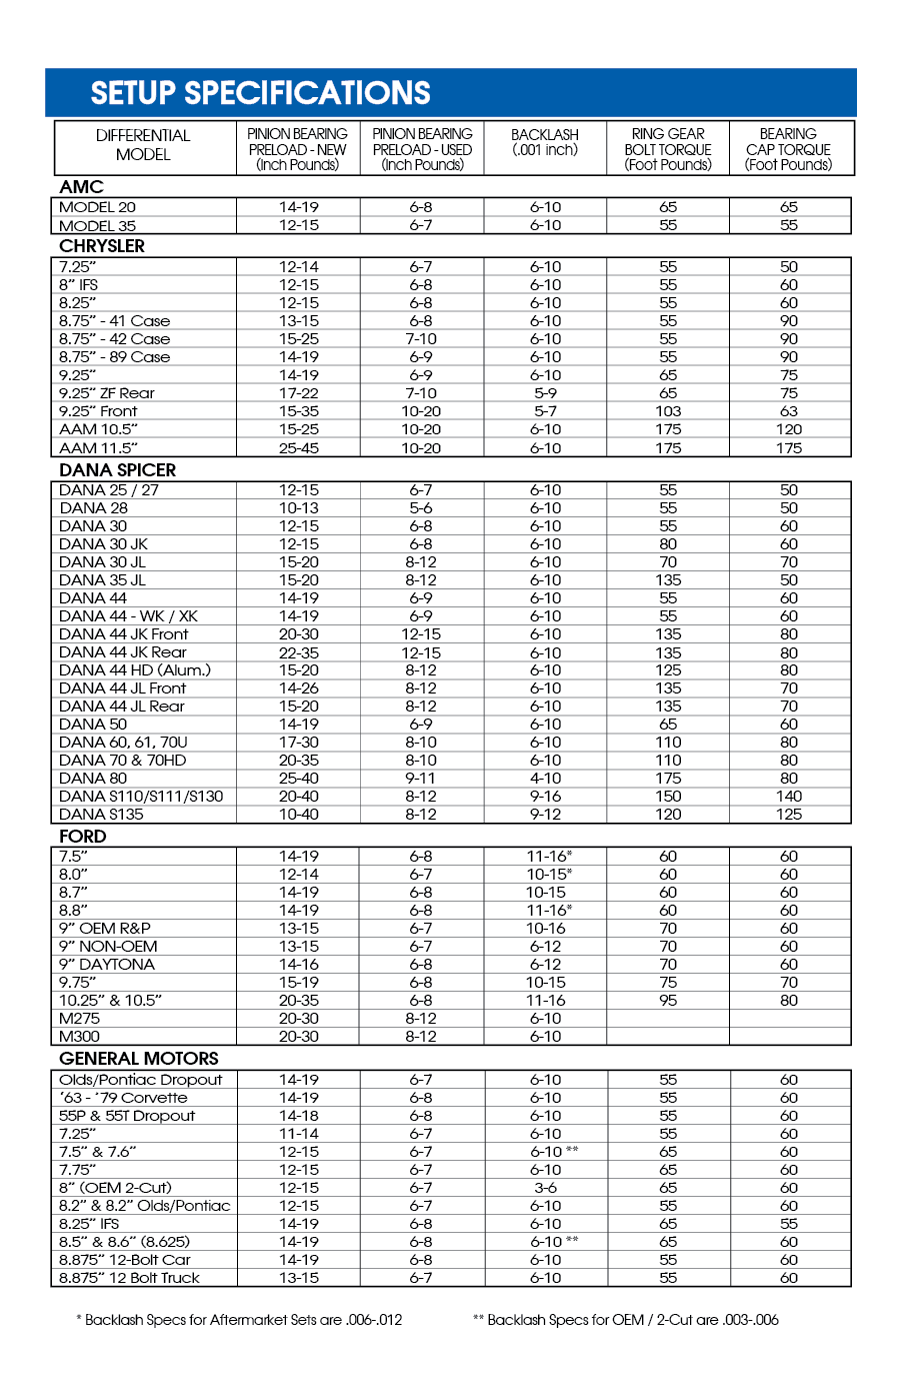
These are the Differential Installation Instructions that are included with all of our Master Installation Kits (IK’s). If you would like a printed copy, you can request one using our contact form.


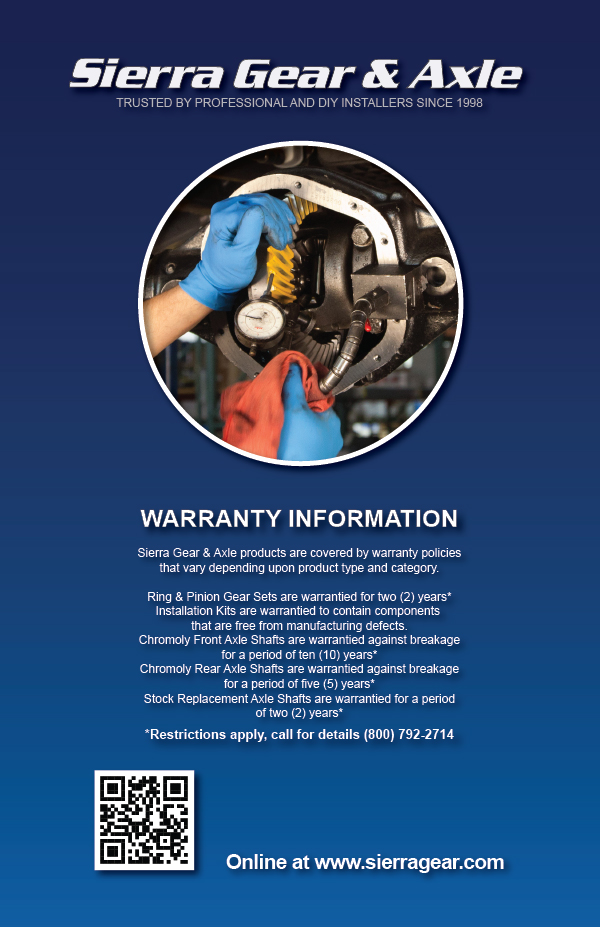
Visit the Sierra Gear & Axle site HERE

Order by Phone
Need Help or Parts ASAP?
For the fastest service, call our Differential Parts Experts at (800) 510-0950 for immediate assistance. We are available to help Monday thru Friday from 8 AM to 5 PM Pacific Standard Time, and most orders placed by 4 PM ship out the SAME DAY!
Contact Us
For inquiries about our products and services, please fill out the form below. We look forward to serving you!